8 October 2026
PS5 HDMI Port Repair: What It Costs And Why It Beats A New Console
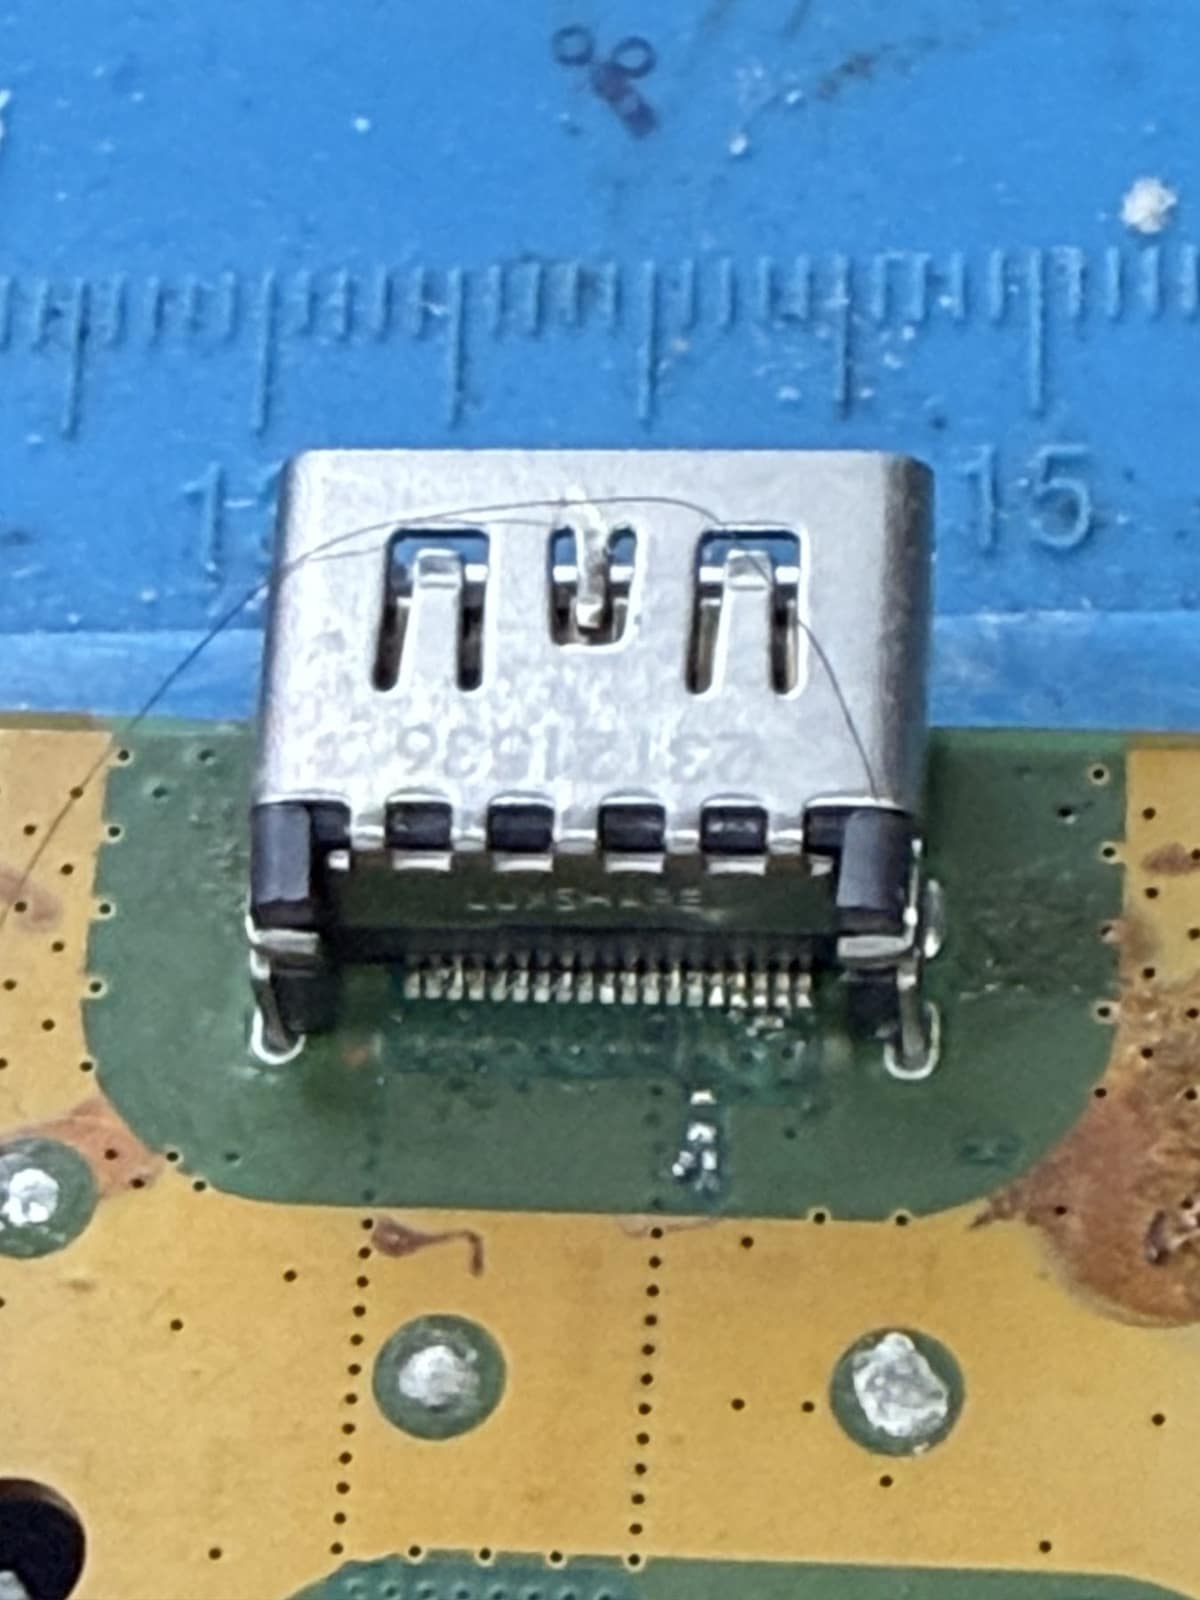
A damaged HDMI port is the most common reason a PS5 stops showing a picture, and replacing the port costs a fraction of a new console.
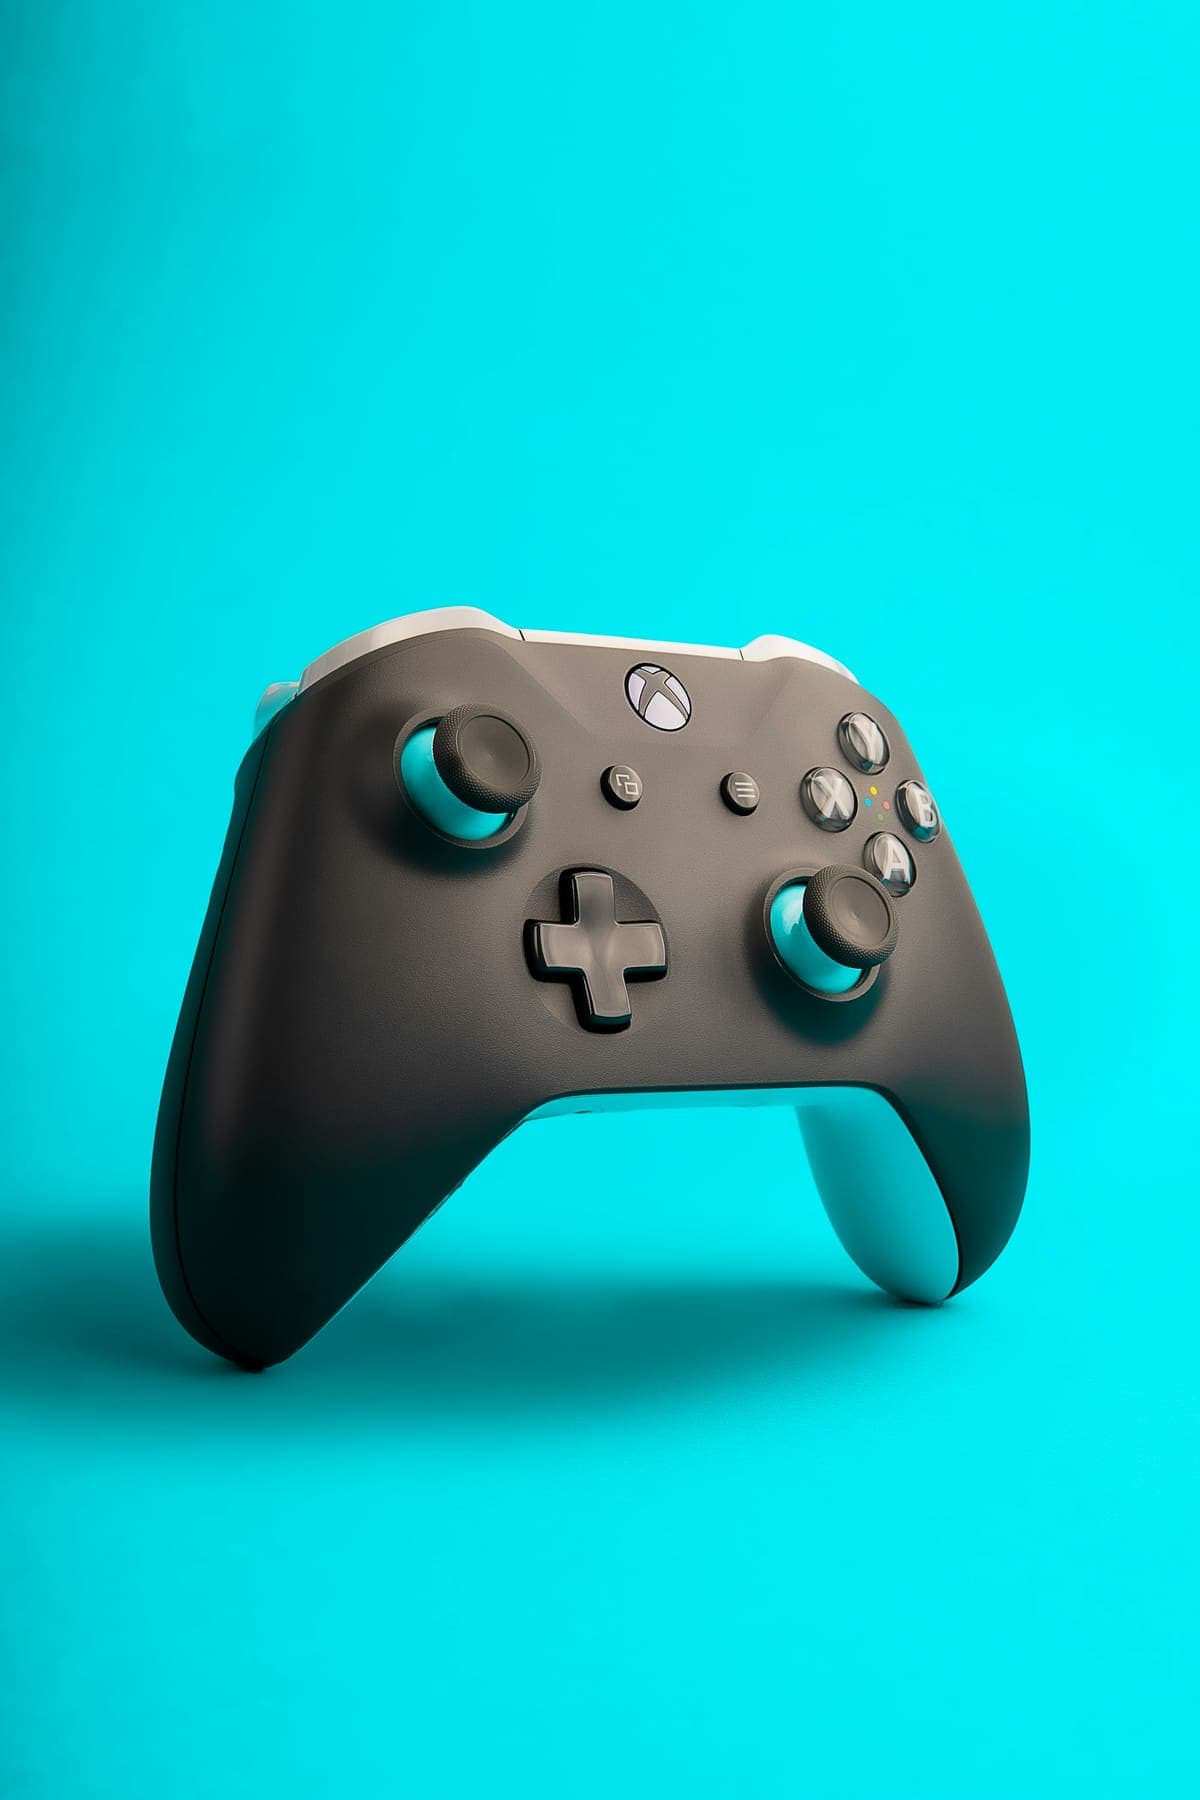
A controller that walks your character across the room while your thumbs are nowhere near it has a worn part inside the thumbstick, not a settings problem.
Underneath each thumbstick sit two small potentiometers that report its position on each axis. They are mechanical, they are in constant contact, and they wear. As the contact surface degrades — helped along by the dust and skin oil that inevitably work their way in — the resting position stops reading as centre, and the console does exactly what it is told and moves. That is drift. It is a worn component, which is why recalibrating helps for a day and then stops helping.
Drift only ever gets worse, and the part that fixes it is inexpensive. Left long enough, the failing module can also wear the surrounding pad, which turns a straightforward stick replacement into a more involved board repair. There is rarely a reason to replace a whole controller over one worn stick.
Need help right now? Our Xbox Repair engineers can come directly to your home or office anywhere in Greater London to diagnose and fix this for you.
Drift is easy to confirm and easy to misattribute, so it is worth proving which stick and which axis has gone before opening anything.
Thumbsticks are consumable parts, but how a controller is treated makes a real difference to how long they last.
We come to your home or office anywhere in Greater London for Xbox repair.
A damaged HDMI port is the most common reason a PS5 stops showing a picture, and replacing the port costs a fraction of a new console.
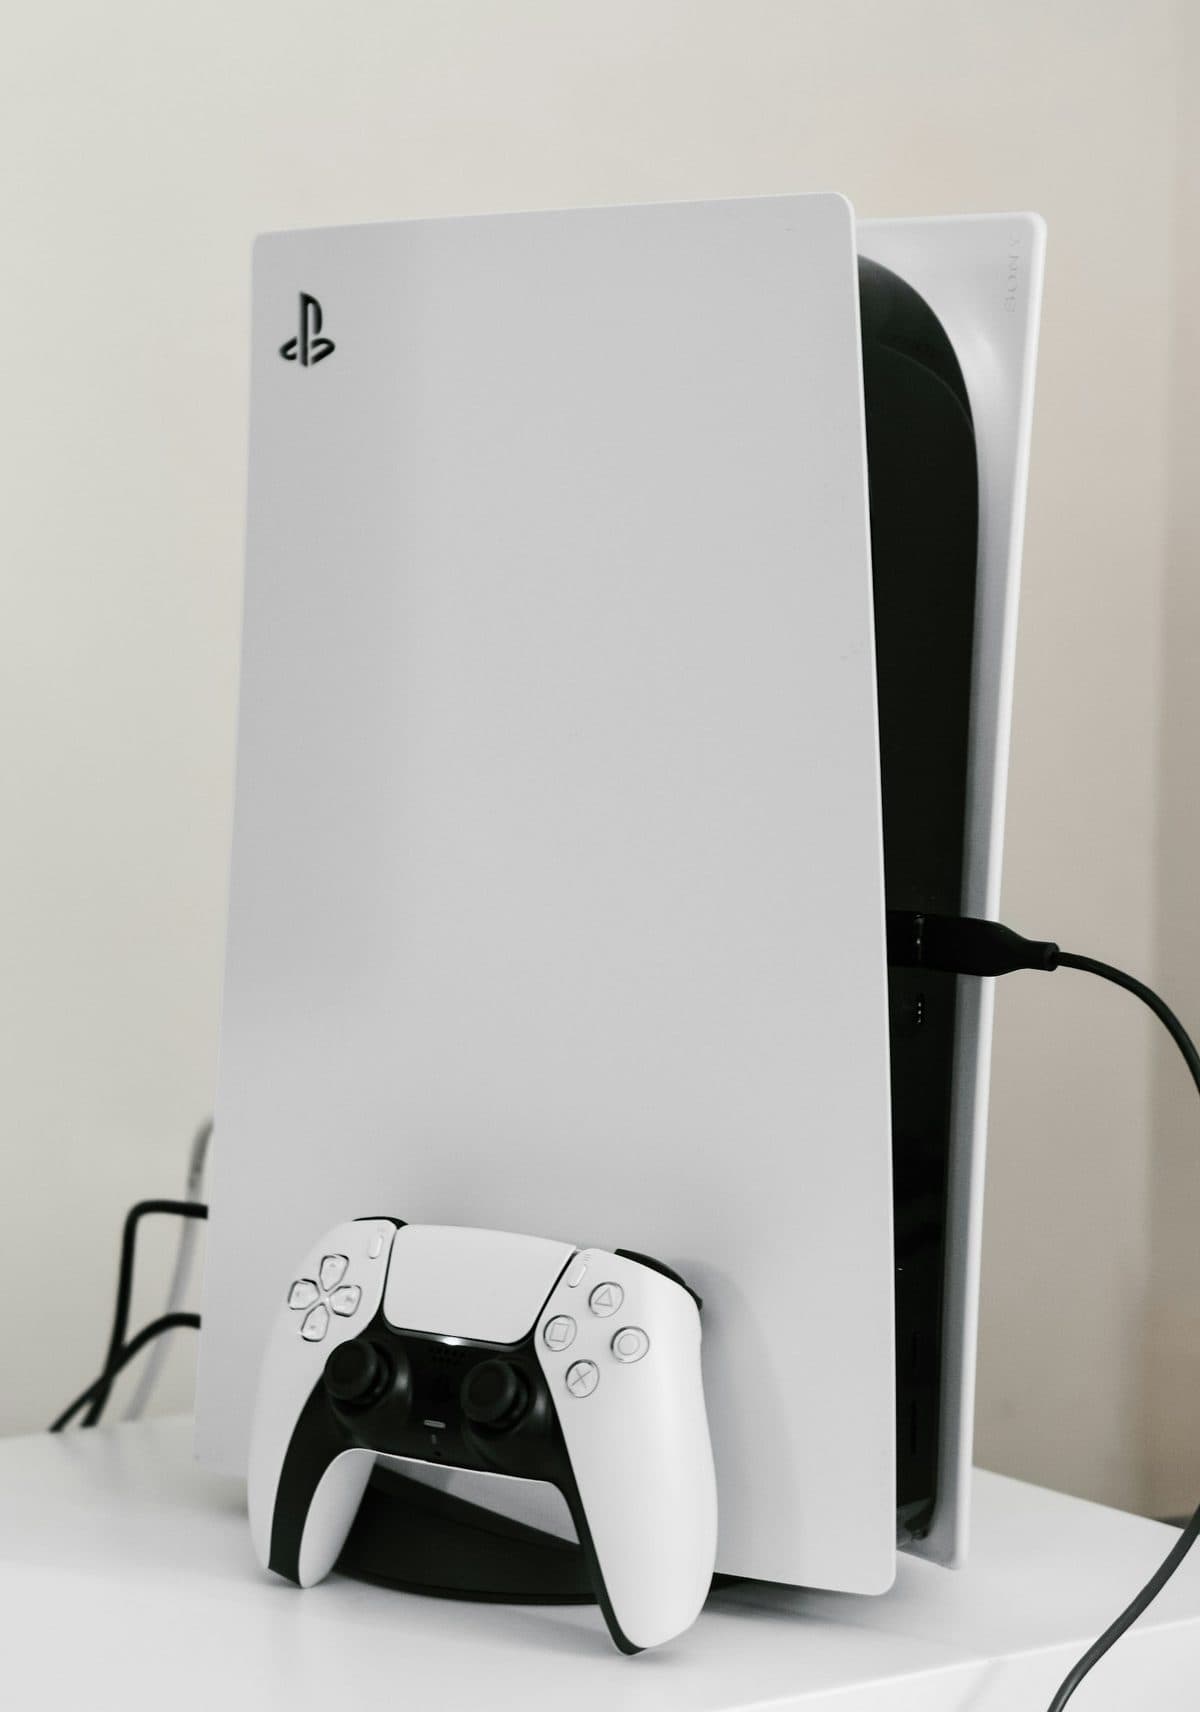
Disc-read errors can come from the drive mechanism, rollers, laser issues, or software trouble. The symptom pattern helps narrow it down.
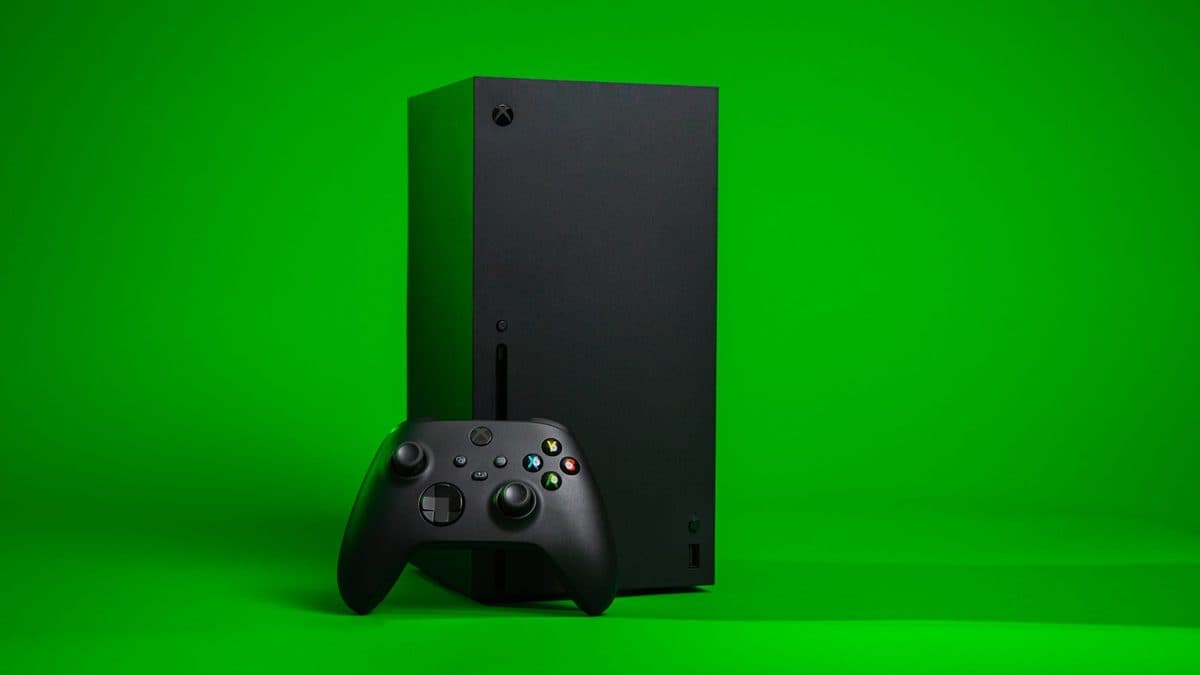
A black screen on an Xbox can be a cable issue, HDMI damage, resolution confusion, or a deeper board fault.